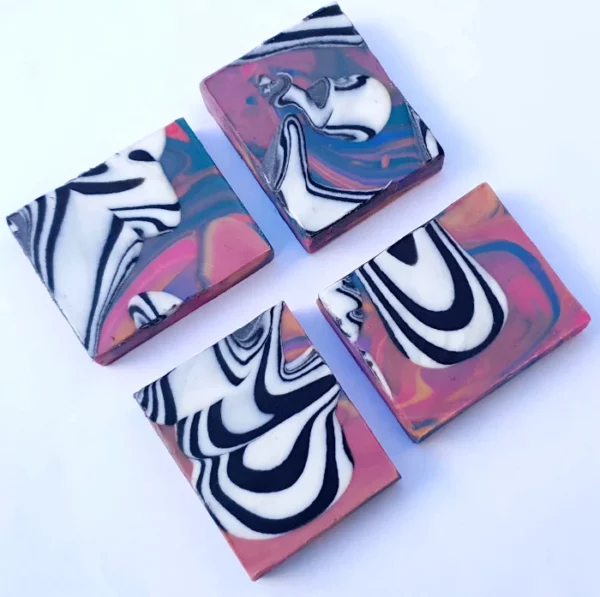
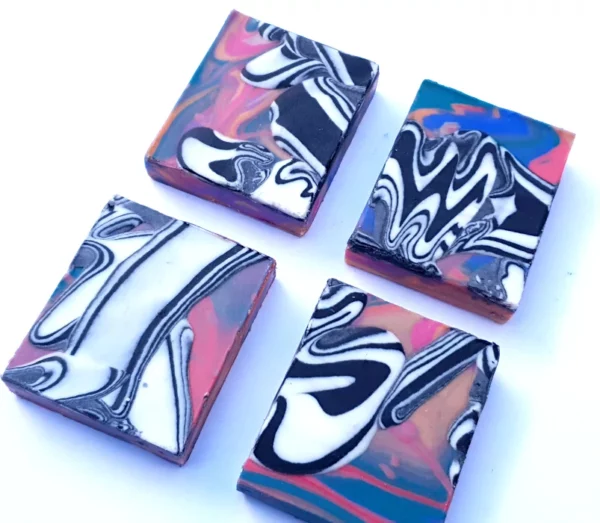
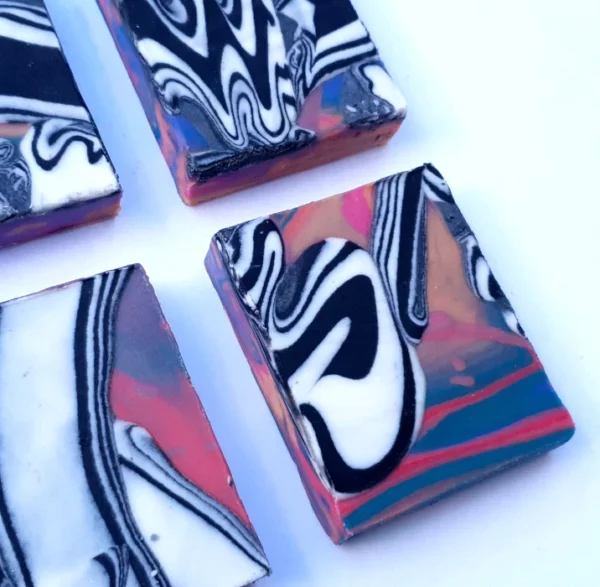
The Ultimate Mini Dustpan Cold Process Soap
You will need the following
Ingredients – Use a slow tracing recipe or you can use the recipe below
Coconut Oil – 270g
Olive Oil – 400g
Palm Oil – 100g
Sunflower Oil – 150g
Shea Butter – 80g
Sodium Hydroxide (Lye) – 137g
Distilled/deionized water – 330g
Colours and pigments – Measure 0.9g of each colour – Rock Star Red Mica Powder, Hot Purple Mica Powder, Pink Power Mica Powder, Dark Orange Mica Powder, Forest Gold Mica powder, Aurelian Gold mica powder
Measure 1.5 g Titanium Dioxide and Black Magic Mica Powder,
Additional Tools – A Slab mould and a swirling comb, 9 mixing cups, small stick blender/paint mixer, small dustpans or measuring scoops and 2 squeezy bottles
Safety – Please note : this tutorial assumes that you are proficient and experienced in cold process soap making. Please do not attempt if you do not have sufficient experience in making cold process soaps.
Step 1
Slowly add the sodium hydroxide to the water. Be careful to avoid splashes. Stir in the lye until it is fully dissolved and make sure to seal it properly in a leak proof container. Set aside to cool to room temperature.
Step 2
Melt your solid oils and butter and then add your liquid oils and allow to cool to room temperature.
Step 3
Once the lye and the oils are sufficiently cool add the lye to the oil. Mix them together with a stick blender until you rich thin trace.
Step 4
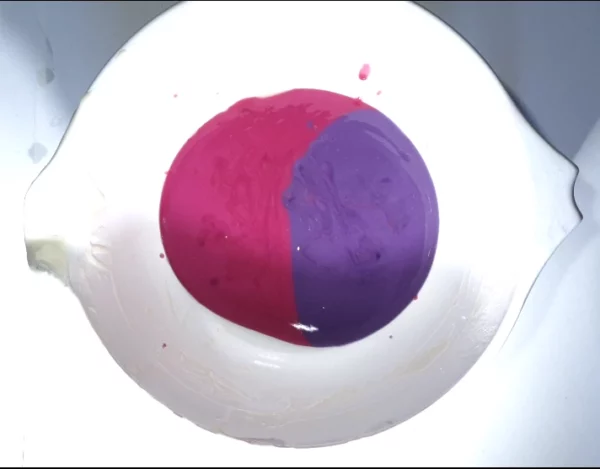
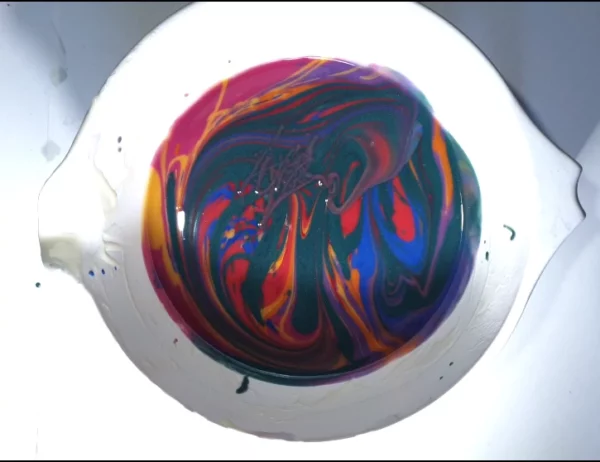
Take 7 mixing cups and measure 140g of soap batter into each cup. Mix in each of the mica powders into separate cups and fully combine with your paint mixer. Wait until all of the soap colours have reached light trace. You can add your fragrance once the colours have been fully combined.
Step 5
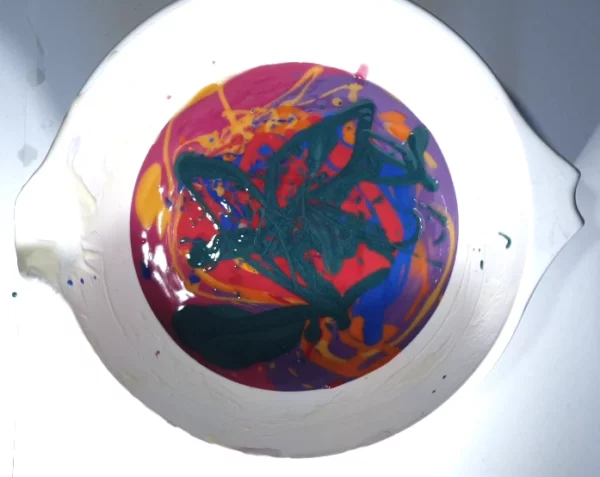
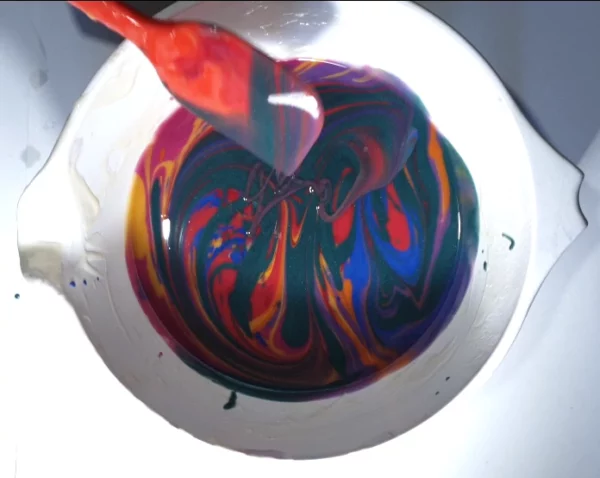
Once the soap has reached light trace pour each colour into a large mixing bowl and then lightly swirl with a spatula. Be careful not to over mix other wise when you pour your soap into the mould it will look muddy.
Step 6
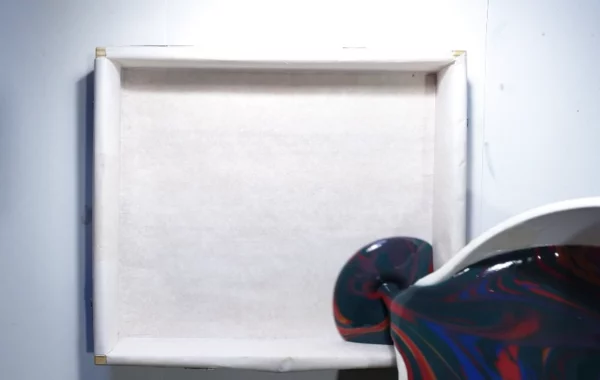
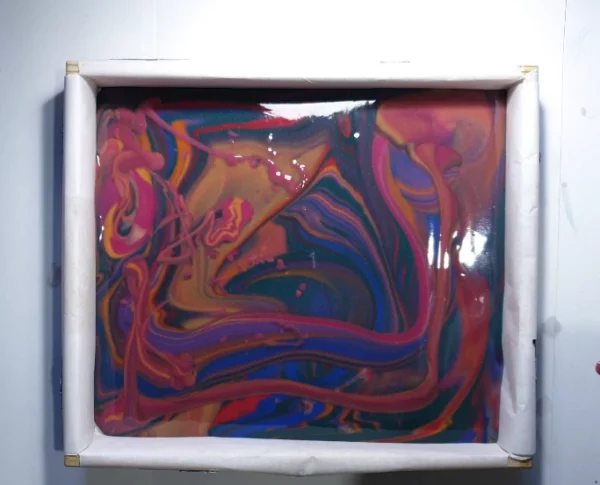
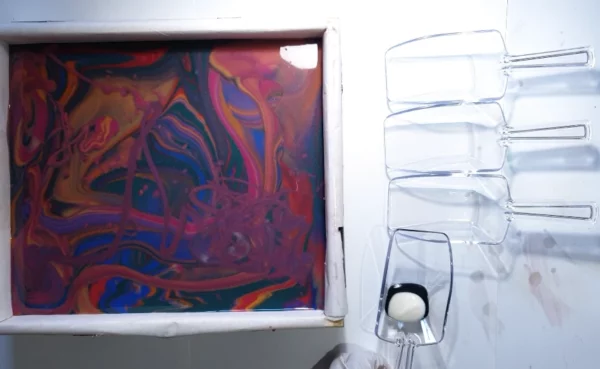
Pour the soap into your prepared slab mould for an “in-the-pot-swirl” effect and set to one side.
Step 7
Take the remaining soap batter and divide it equally into 2 mixing jugs. You should have approximately 250g of soap batter in each.
Step 8
Add the titanium dioxide and black magic mica powder separately to each jug and blend thoroughly. You can also add your fragrance once the colours are fully blended.
Step 9
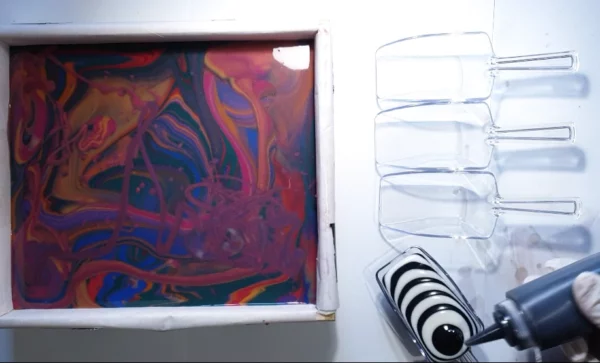
Pour your black and white coloured soap separately into squeezy bottles and screw on the caps ready for pouring.
Step 10
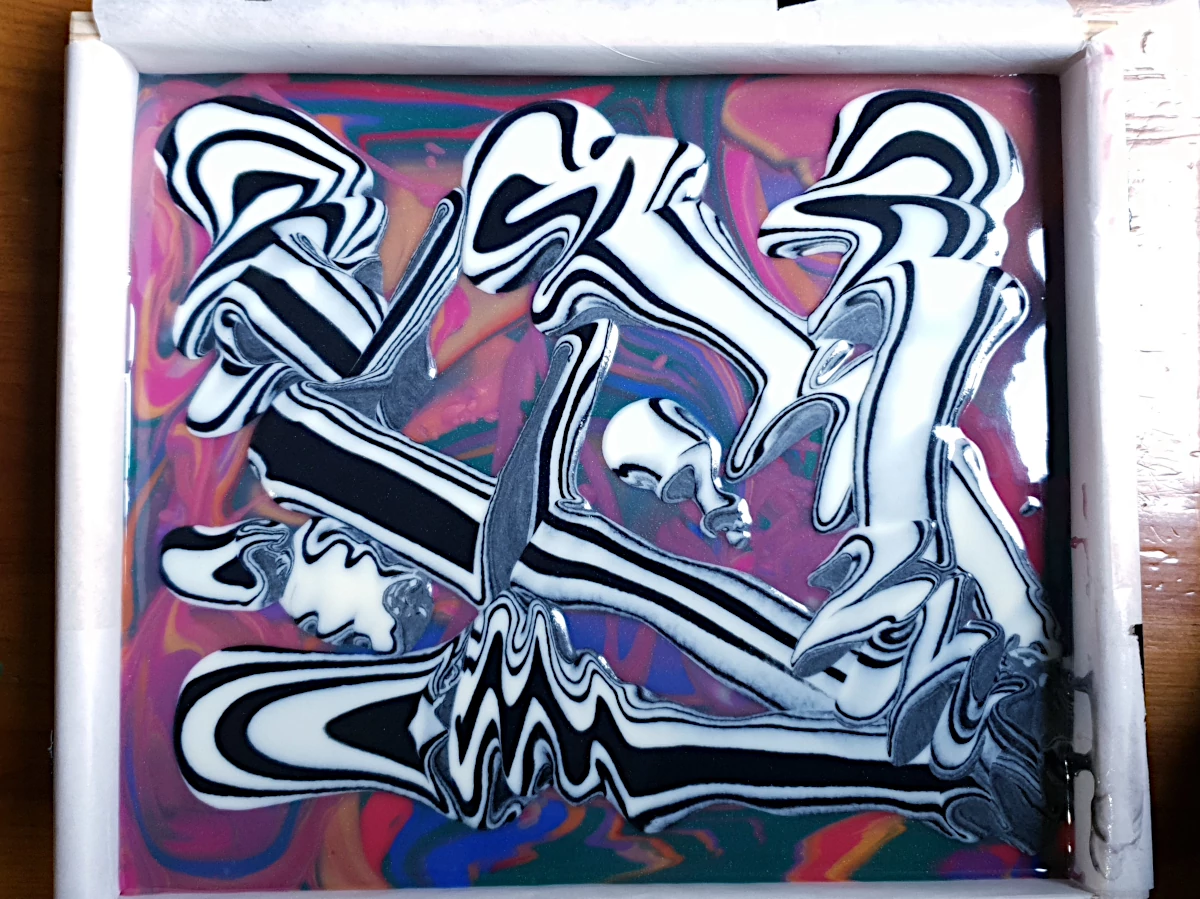
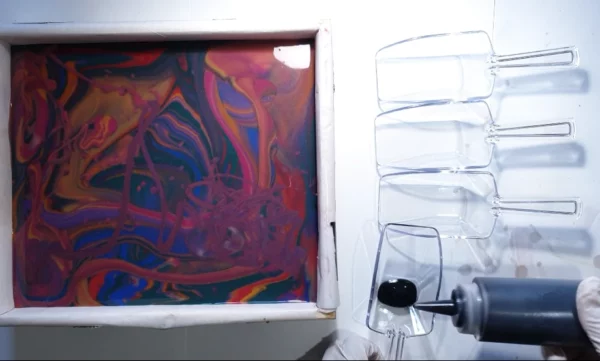
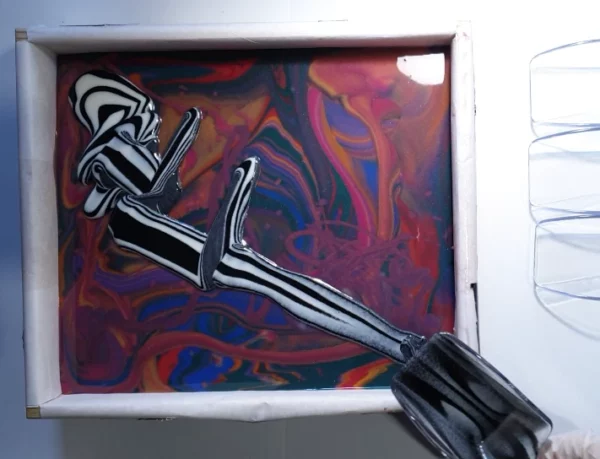
Take a dustpan and squeeze a small amount of soap into the area closest to the handle. Alternate between black and white until the dustpan is filled.
Step 11
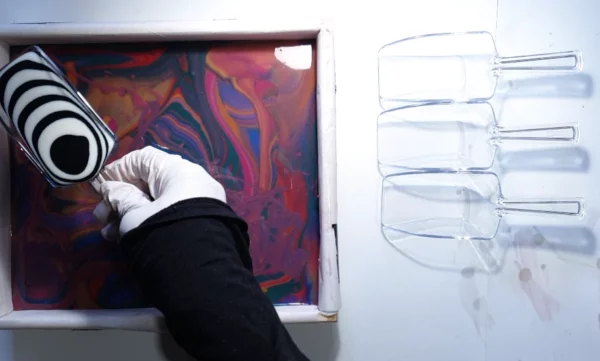
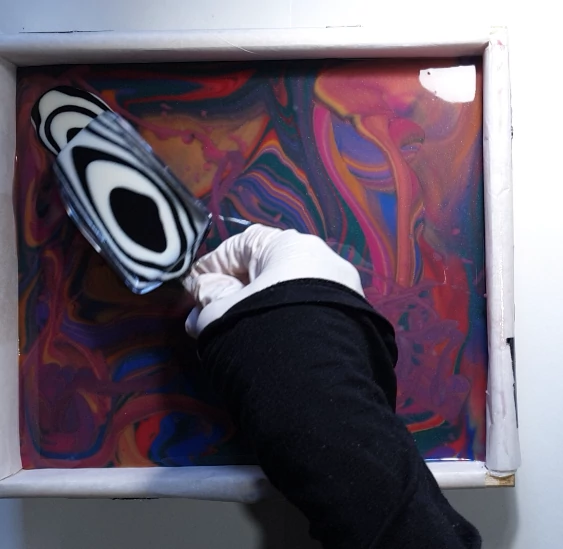
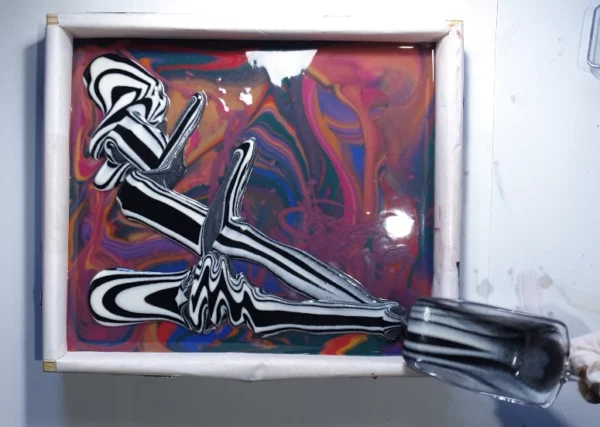
Hold your dustpan over your slab mould and carefully start to pour the soap from the dustpan over the surface of the pre-poured soap. If you move the dustpan in a shallow and fast motion in a straight line toward you you will see looping patterns appear. You can also move your dustpan side-to-side to create a different pattern. Try an number of movements to see which patterns you like best.
Step 12
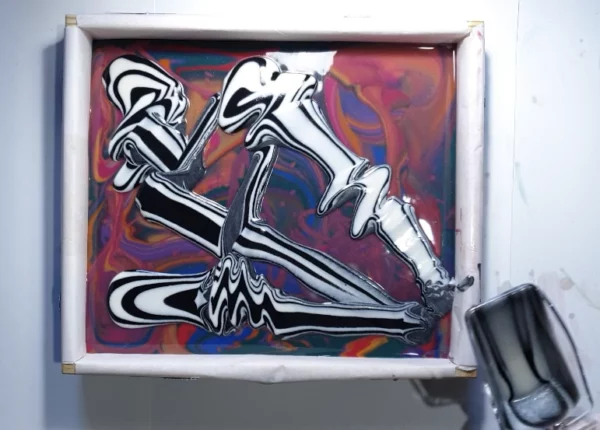
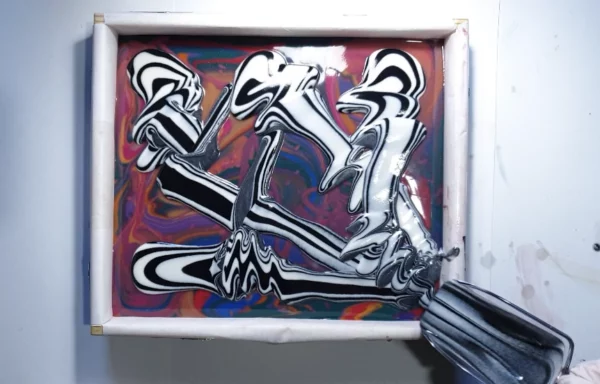
Take another dustpan and pour your soap as before. Go to an area of your soap that you haven’t covered with your dustpan pattern yet and start pouring again. Repeat this until you have made enough patterns on the surface of your soap.
Step 13
Leave your soap to set. When it is ready unmould and cut into bars.
Happy soaping! Please let us know what you think in the comments. If you try this technique be sure to let us know how it went. Drop us a line at info@micamoma.com
