Your Basket is currently empty!
How to Make Creme/Cream Nail Polishes at Home – The Ultimate DIY Guide
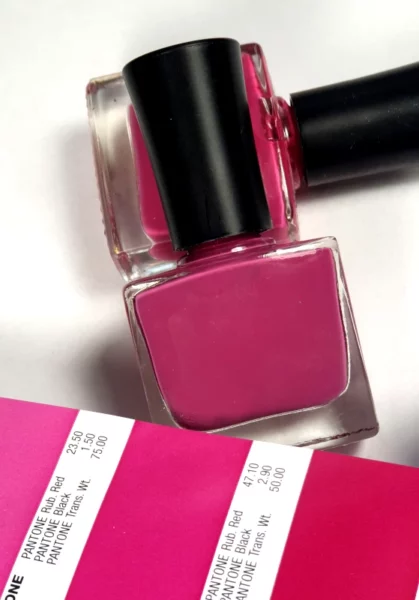
First of all you will need the following –
Ingredients and Equipment:
1.Nail polish suspension base – a gloss base suitable for cremes and metallics not a glitter base
2. A selection of nail polish liquid pigments or colours
3. Nail polish thinner
4. Nail polish remover, MEK or acetone for cleaning (If you use acetone you will need a mask with goggles or a visor)
5. Paper towel such as kitchen roll. You want paper towels that do not create lots of dust or fibres. Quality kitchen roll is best. Do not use cotton wool or cotton wool pads to clean up your area or wipe/clean your nails when you are testing your polish. Cotton wool and cheap paper towels haves many fibres that could get into your polish.
6. Mixing cups – made from polypropylene (pp). Pp will not react with solvents such as acetone, nail polish remover or MEK. You don’t want your mixing cup to melt.
7. 10ml and 1ml luer slip syringes – make sure to prep your syringes first if you want to reuse them.
8. Plastic mixing spoons – ideally polypropylene
9. Face mask FFP3 – you do not want to breathe in the fumes
10. Apron /overall to protect your clothing and a hair covering
11. Nitrile or latex gloves – not vinyl. They will just disintegrate once they come into contact with the nail polish ingredients and solvents
12. Plastic table cloth to protect your work surface
13. Pen and notepad/paper – you must take notes about all the ingredients that you add and the amounts so that you can refer back to them later. It’s such a pain when you make a great nail polish but cannot remember how you did it.
14. Hepa air filter – this is optional but advised if you will be making nail polish as a hobby and or to sell. Otherwise make sure that your space is well ventilated.
15. A plastic bag that you can seal to throw away your rubbish because it will smell strongly of nail polish and solvents.
16. Empty nail polish bottles.
Final Checklist – This stuff is important so please do not skip!
– Make sure that you cover your hair so that it does not get into your nail polish while you are working.
– Make sure that your work space is as clean and dust free as possible. Nail polish is unforgiving and will show up any impurities.
You do not have sophisticated filters and sieves to strain dust and hair out of your final nail polish. Prevention is better than cure.
-Do not make nail polish near ignition sources i.e. near a flame or anything that can cause a spark. Nail polish is highly flammable and combustible so use with caution.
-Make sure that if anyone is in the room with you that they wear a mask or are not breathing in the fumes.
Okay, now that’s out of the way let’s get creative!
Making Your Nail Polish
Step 1 – Deciding which liquid pigments to use
Decide on the colour that you want to make. I will make a magenta colour.
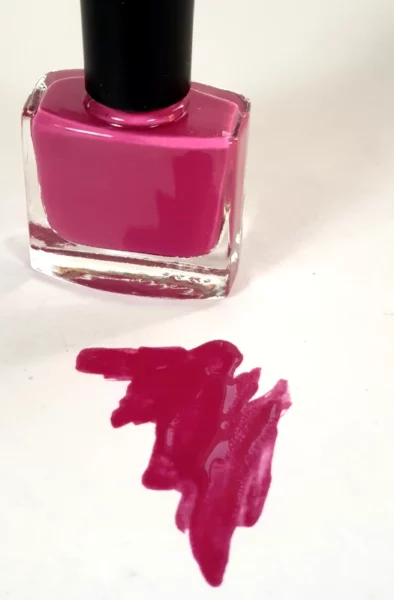
This shade is a purple/red colour with a slight yellow tone. Therefore we are going to choose nail polish liquid pigments that are the right shades to match our colour.
Choose liquid pigments of the right hue and tone
I have decided to use Royal Red nail polish liquid pigment which is deeper and more blue in tone compared to Brilliant Red or Hot Red. So this liquid pigment is closer to our final colour.
I will also select white and yellow liquid nail polish liquid pigments.
In general we do not want the liquid pigment portion of our nail polish to go beyond 15% of our formula. For some of the liquid pigments we might need to use more than that but not in general.
This is because too much liquid pigment can make your final nail polish brittle and less likely to stay on your nail.
Try not to use too much nail polish liquid pigment
Nail polish ingredients must exist together in specific ratios and percentages. By adding too much liquid pigment you can upset these ratios and your nail polish will not be optimal.
They may become brittle, too thick or too tacky and not apply to your nails properly.
So therefore if we are making a 10ml bottle of nail polish we can add up to 15-20% of liquid pigment and the remaining 80-85% will be nail polish suspension base.
Mix the liquid pigments together to get the right shade. It is better to mix the liquid pigments separately away from the nail polish base.
This way you can adjust the liquid pigment colour if you need to without the risk of wasting nail polish base if you get the colour wrong.
Step 2 – Mixing the liquid pigments together
Because you liquid nail polish pigments have been well mixed separately you will not need to do too much mixing when you add the liquid pigments to the nail polish suspension base.
This will help you avoid creating more bubbles in your final nail polish.
Take your syringe and pull the plunger back and then push it forward. This prepares the syringe and reduces air pockets.
Dip your syringe into the royal red liquid nail polish pigment and measure 1.0ml and place that into your empty cup.
Then measure 0.2ml of yellow and 0.3ml of white and add those to the cup.
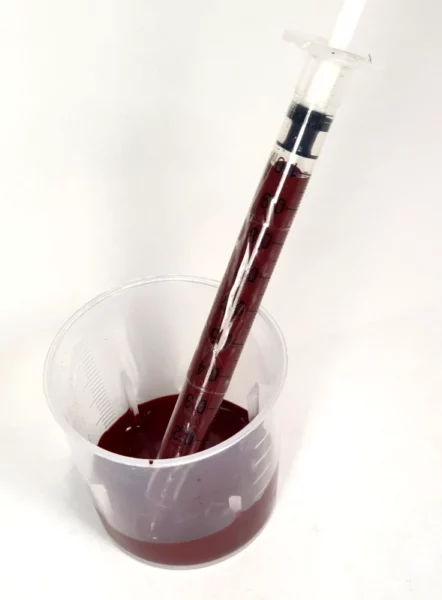
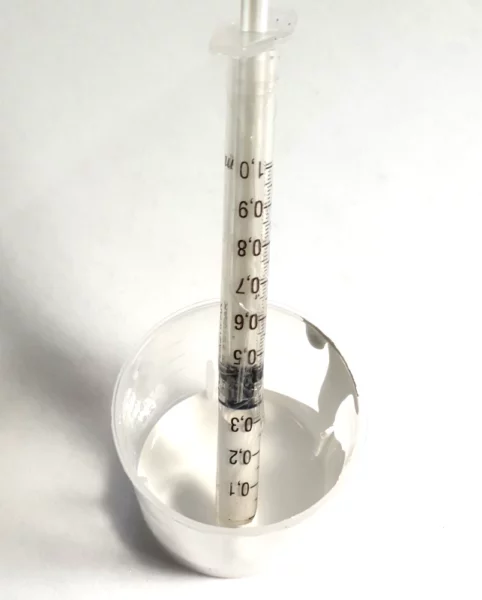
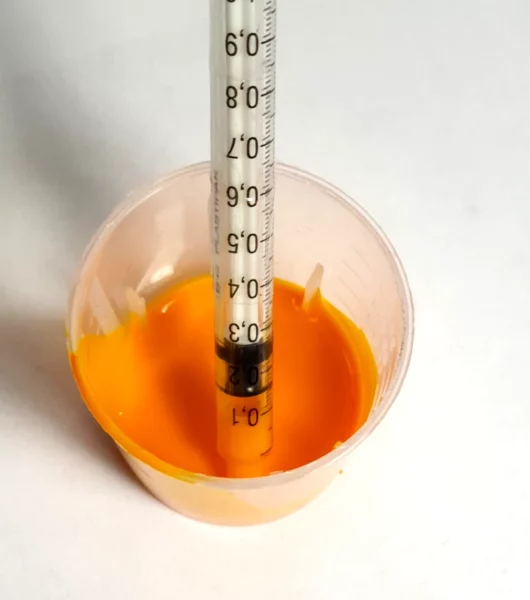
Step 3 – Make sure to mix your liquid pigments thoroughly
Take a mixing spoon and mix together thoroughly. Scrape the bottom and corners of your mixing cup to make sure everything is properly mixed.
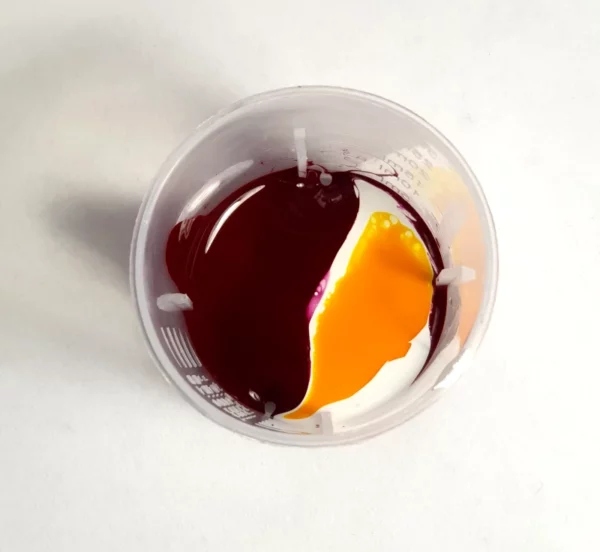
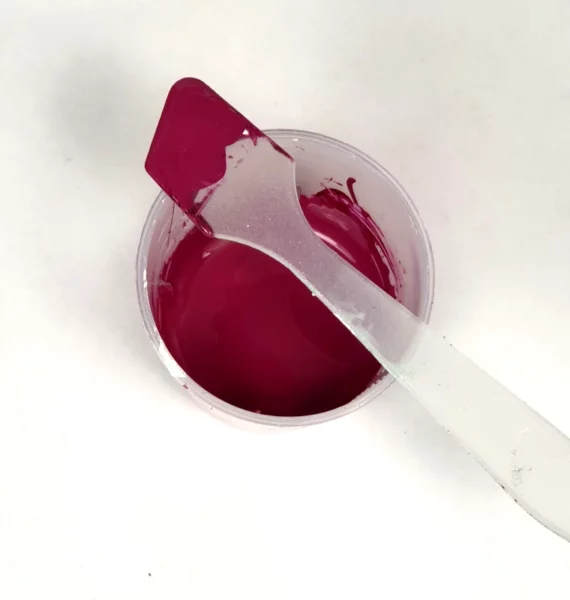
Step 4 – Mixing the liquid pigments into your nail polish suspension base
Check your colour. If you are happy with it then take 1 ml of the mixture and add it to approximately 9ml of high gloss pearl or gloss pearl extra nail polish suspension base in a separate cup and mix together thoroughly.
Quick Tip : Always make a bit more nail varnish than the capacity of your bottle. So if you are using a 10ml bottle then make about 11-12ml of nail polish. If you make the exact amount there will not be enough to fill the bottle fully.
You can use the paint mixer to do this but it is not necessary, just stir thoroughly. The suspension base should have enough suspending agents in it to keep the pigments well mixed and dispersed.

Step 5 – Checking the colour
Check the colour. Are you happy with the shade?
Step 6 – Testing your nail polish, trouble shooting and shade correction
Test it on your nail. I advise that you paint some on your own nails and not a swatch nail. Your nail is real and what the final nail polish will be painted on. Human nails are the best way to test your polish.
Now ask yourself these questions.
Is the colour what you wanted? If it is then great but read below for some solutions if your nail polish colour is not quite what you expected.
Is it too dark? add a little more white liquid pigment – add in 0.1ml or less increments and test
Not red enough? add a bit more red liquid pigment in 0.1ml increments and test again
Needs more yellow? repeat the same steps as above and add gradually.
Too light? you can darken it with black liquid pigment or iron blue. Use these with caution as they are very potent.
And remember in colour mixing black is not the ideal colour to use to darken. it can make a colour more “murky” so opt for blue to darken where possible. Add in drops.
Is there enough coverage? Test on your nail to check.
Do not panic if it is sheer. The first coat of most nail polishes do not look fantastic. You need at least 2 coats before you make a decision.
If it is too sheer just add the remaining liquid pigment, mix and test again. Please do not be tempted to add too much liquid pigment.
Not only can it make your polish brittle but it will make it too thick and then it will not settle on the nail properly and create bumps and ridges in your final manicure.
It does not take much liquid pigment to transform the shade of a nail polish so add in small increments.
Quick Tip : PLEASE REMEMBER TO TAKE DETAILED NOTES OF EVERYTHING THAT YOU DO!
Step 7 – Testing your nail polish for consistency. Too thick, too thin?
Once you are happy with the shade is it too thick or the right consistency?
How will I know?
-Nail polish should apply to the nail with minimal drag.
-Your nail varnish should settle on the nail so that you cannot see any brush marks. To properly test for settling ability let your brush sit in the nail polish in the bottle for at least an hour or so.
-This allows the bristles to soften and to take up the nail varnish. If the brush is hard it will cause brush marks anyway and may give you skewed results.
-Your polish should also have a fairly even coating i.e. not have a super patchy appearance. But remember to use quality brushes. A nail polish is only as good as the brush.
Please Note – White liquid pigment always makes crème polishes thicker because of the pigment it’s made with called titanium dioxide
How to fix nail polish that is too thick?
–If it is too thick I would advise adding some nail polish base first to thin the polish in small amounts of 0.1ml increments and then test again.
-If that does not thin the polish enough then add some thinner but 1 drop at a time and test until you are happy.
–Do not add too much thinner as it will make your nail polish brittle! It is always best to thin nail polish with suspension base if you can. Do not use nail polish remover as it will break down and destroy your nail polish.
Okay so once you are happy with your nail polish pour it into your bottle. Name it with the date in your notes and label the bottle with the same name.
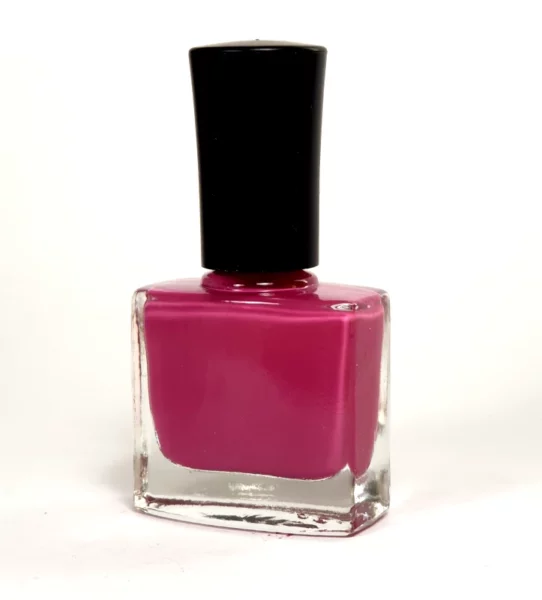
You will forget how you made your nail polish so write it all down for future reference.
I hope that this was helpful. Please let me know what you think in the comments section below. I love feedback.
If there are any other articles that you would like to see on Micamoma.com drop me a line at info@micamoma.com
Happy crème nail polish making 🙂
Check out our Nail Polish Suspension bases and Liquid pigments and get started making your own nail varnishes today.
