Your Basket is currently empty!
How to Carve Cold Process Soap – The Do’s and Don’t s
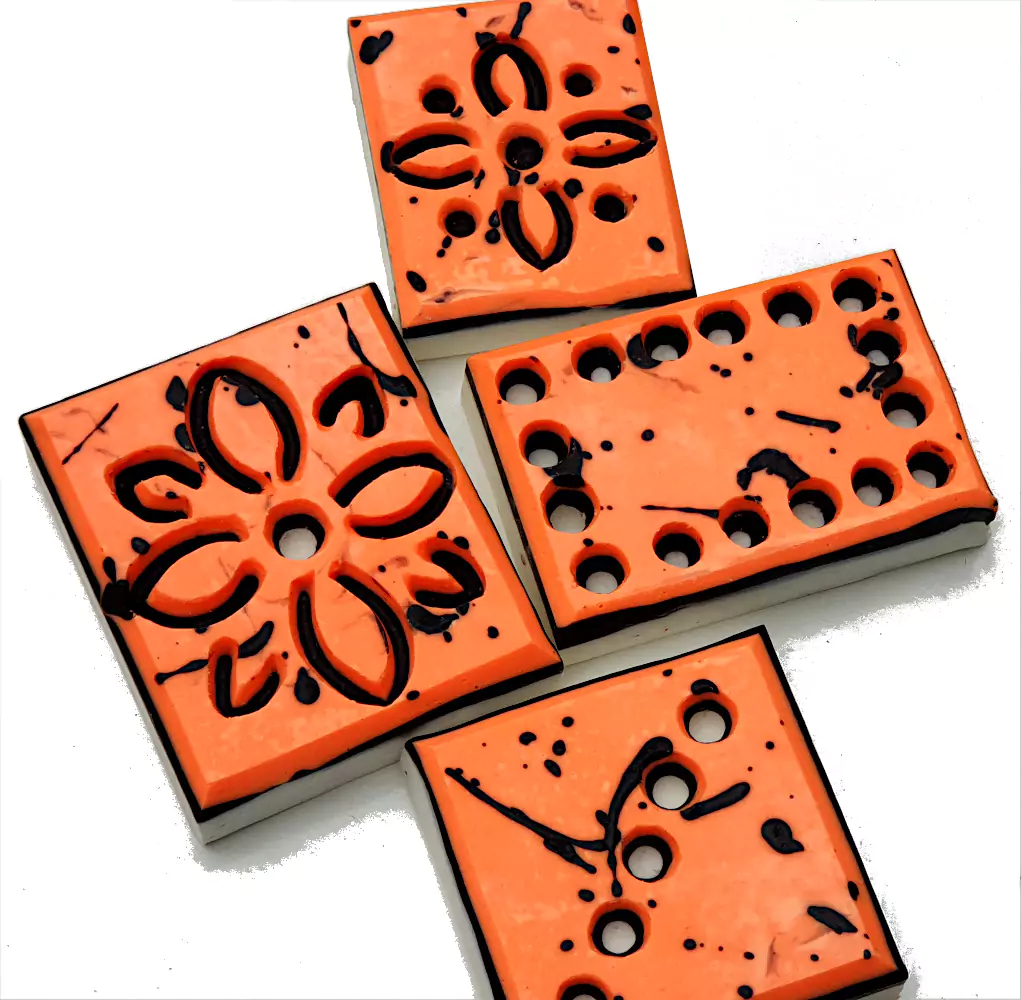
After being wowed by amazing ceramicists carving pottery masterpieces…it got me thinking. This could probably be done with soap too.
So I decided to give it a try.
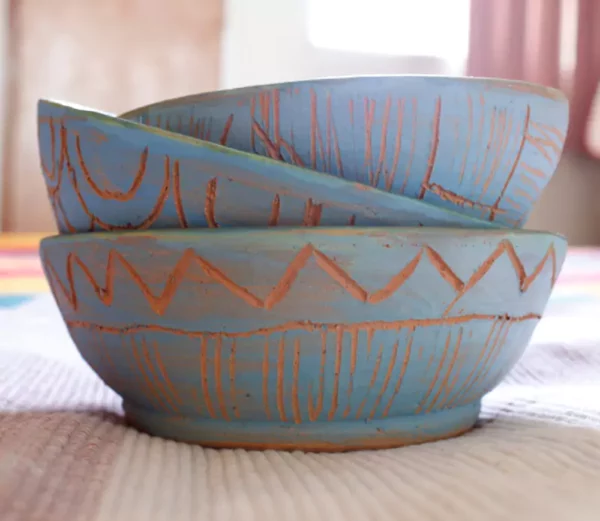
If you look on social media you will find breath taking examples of pottery pieces with multi layers of different colours.
Below we can see the blue colour on the surface and the orange/terracotta clay below. Not only do we get a lovely tactile effect with the grooves and shallows, but also the stark contrast between the blue and the orange colours.
What carving tools will I need for my soap?
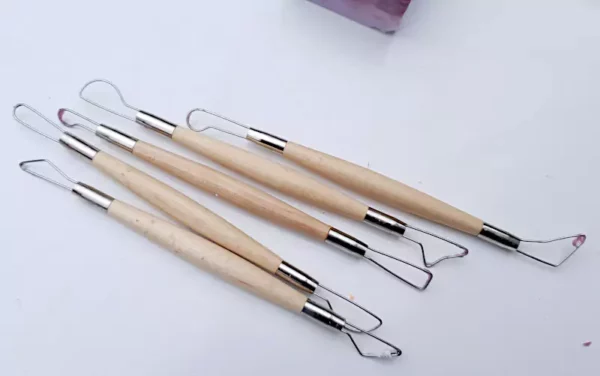
There are many different tools available for carving pottery. From the really cheap to the very expensive. If you are just starting out it might be an idea to get some cheap clay carving tools.
That way if you decide this technique is not for you, you will not have spent too much money.
The tools below were purchased from Cass Arts in the UK, but there are many online shops to choose from. They were not expensive and came in a pack of 10 with a number of different shaped tools included.
What is the best way to make the soap that I want to carve?
The next step was to make some soap to carve. I decided to make my soap in a slab mold. That way the final bars would have a large surface area for me to carve on.
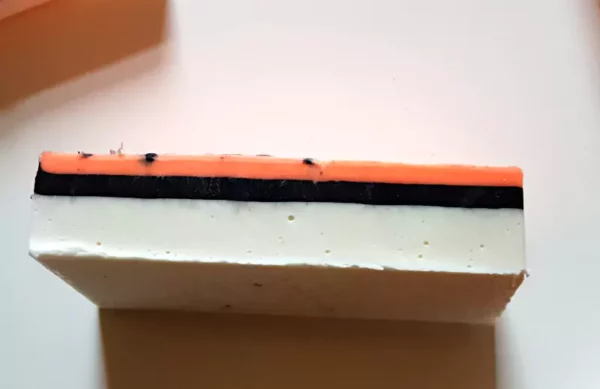
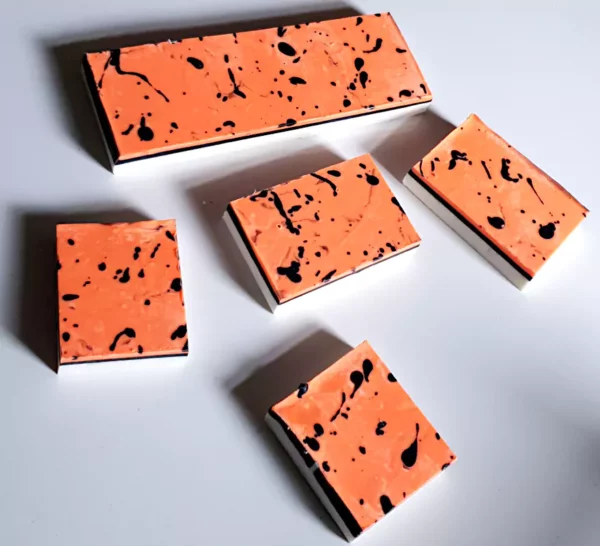
I finally decided upon making a 3 layered soap. Each layer had a different colour and the base layer needed to be thicker than the top layers.
Why? Well I didn’t want to have to carve too deeply into my soap to be able to expose the colours below.
So if I made the top layers too thick, I would have to carve much deeper to get to all the colours below.
And I was worried that if I carved too deeply it might cause the final bars to become unstable and fall apart .
So I kept my top 2 layers quite thin.
What recipe should I use to make my soap?
You can use your current recipe or any other recipe that you like as long as it is not too hard and not too soft.
If you use lots of hard oils then your soap will get harder faster so you might need to start carving your soap sooner.
You do not want your soap to be too hard when you start carving it, otherwise it might be too brittle and break. Also it will make your carving tools work much harder to cut through your soap.
I used a recipe with a high percentage of soft oils so that my soap would not set too hard and be brittle. (See below for the soap recipe that I used)
Ingredients – Use a recipe of choice or you can use the recipe below
Coconut Oil – 270g
Olive Oil – 400g
RSPO Palm Oil – 100g
Sunflower Oil – 150g
Shea Butter – 80g
Sodium Hydroxide (Lye) – 137g
Distilled/deionized water – 330g
Neon Orange fluorescent pigment – 0.5g
This soap batch did not gel so I left it for about 2 weeks to harden before I started carving it to make sure that it was properly set.
What patterns should I carve into my soap?
Then I had to think about what patterns I wanted to carve.
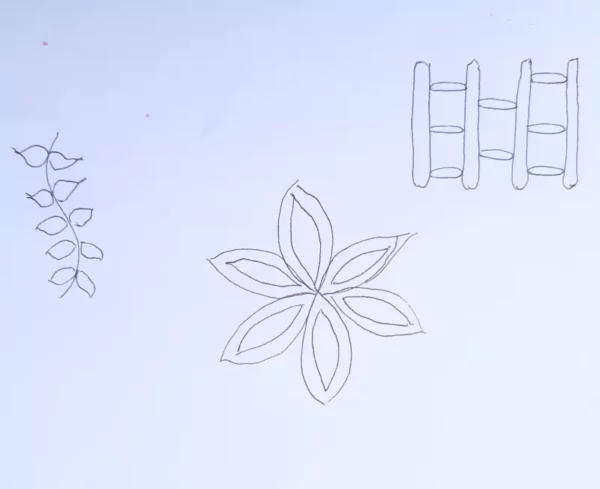
I drew a few ideas on paper so that I had something to work from, but this process was mostly free-style.
There are lots of great pottery carving tutorials on social media, so take a look for some inspiration.
Tips and techniques for cutting your soap
Being the “gung-ho” soaper that I am, I was sooooooo tempted to just get carving into my final soap straight away.
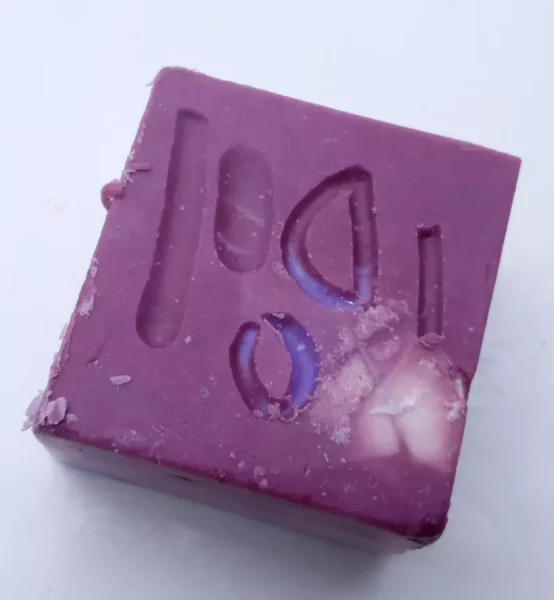
But even I recognised how foolish that was considering this was my first attempt at soap carving. So I cut up some old soap that I didn’t care about and used that for my tests.
Happy with the impressions I made, I then moved on to my finished slab.
I cut it up into a variety of sizes so that I had options to work with.
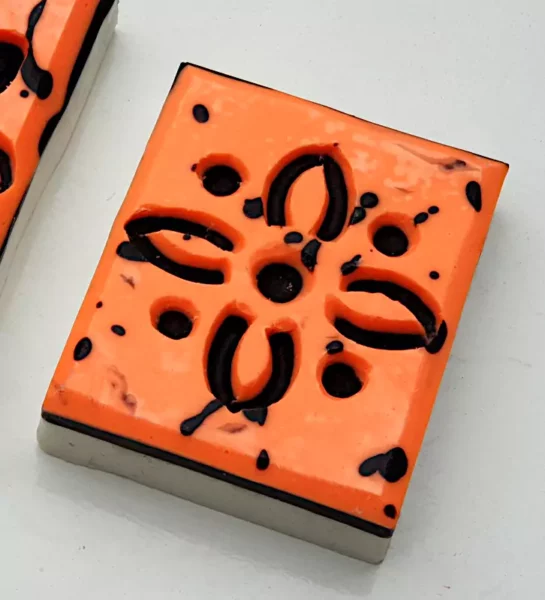
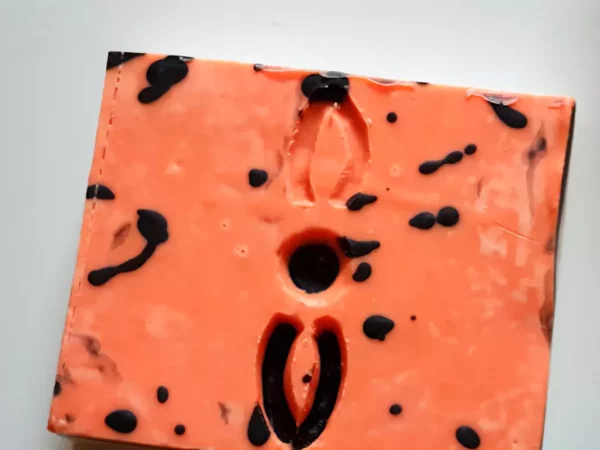
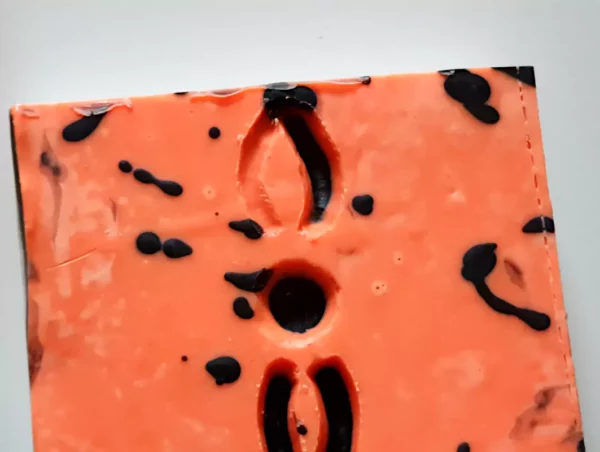
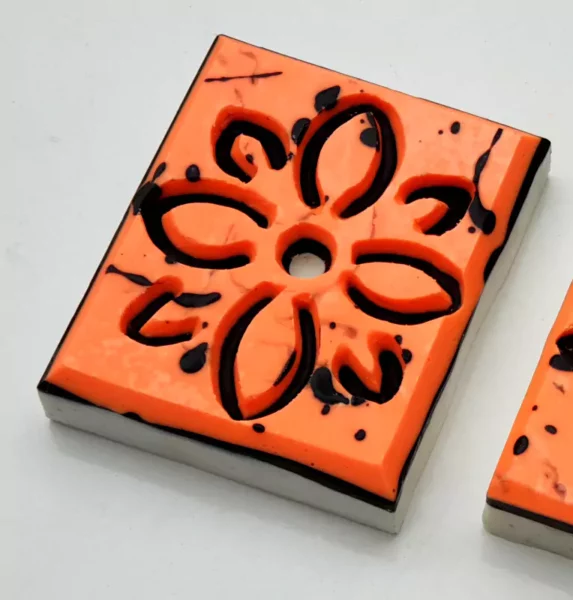
Design 1 – Four Petal Carved Flower
My first attempt was a flower design. I had hoped to fit 6 or more petals onto the bar, but soon realised that I would not be able to fit them all in.
So, I settled for 4 petals and placed some dots in between the petals.
First I made a dot in the middle of the bar and carved the petals around the dot. The dot gave me a starting point and made sure that my flower pattern was even.
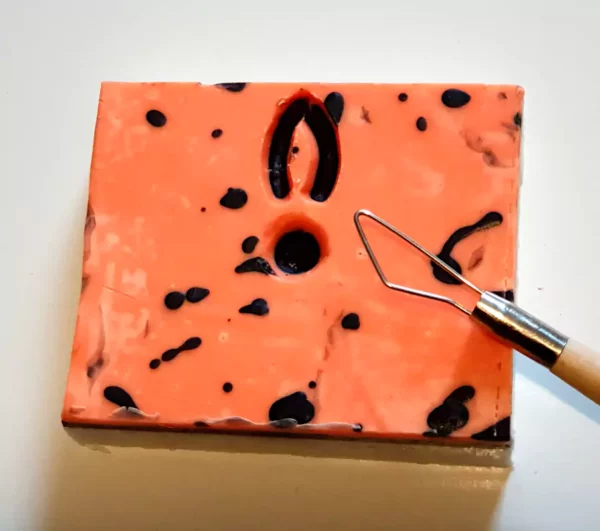
Because my orange layer was thicker than I expected, I had to make two passes with the cutting tool to expose the black layer beneath.
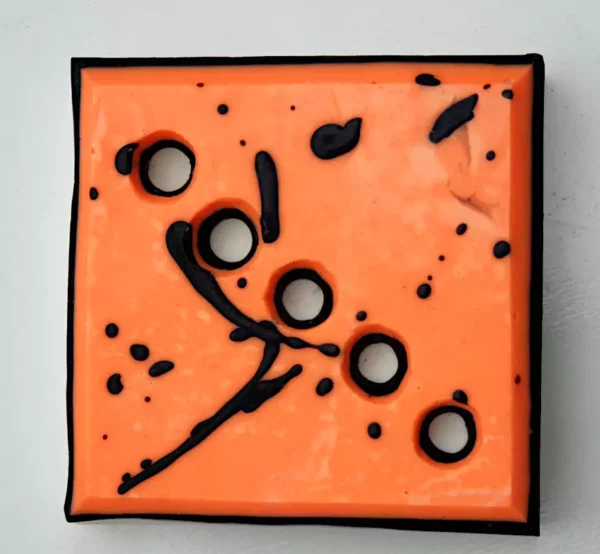
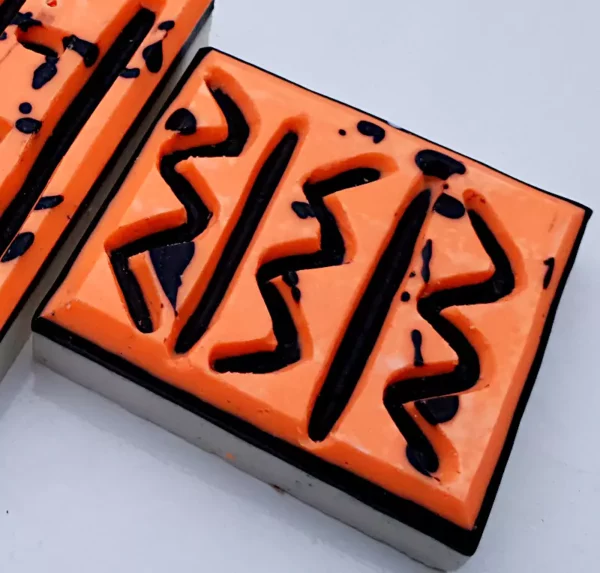
Design 3 – Diagonal Dot Pattern
I really did like making the dot patterns and thought it would be cool to just do a pattern with only dots. So I settled for 1 diagonal line of dots across my bar of soap.
Design 4 – The 8 Petal Flower
Up next was another attempt at the flower design. This time I selected a bigger bar to give me more space to work with.
This bar was 10cm x 8cm which is quite big!
I started with the dot in the middle, then 4 large petals and managed to fit 4 smaller ones in between the big petals.
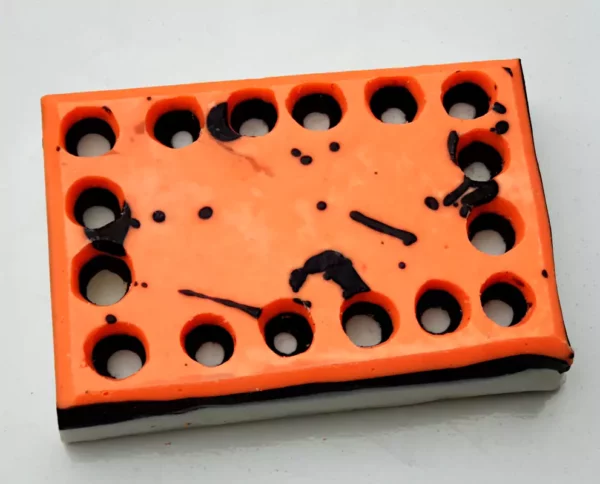
Design 6 – Dots Around a Border
For the last soap I made a series of dots around the edge of the soap bar to make a border. This was not as easy as it looks.
Keeping to a straight line was a little challenging. My advice would be to score shallow guide lines into your soap to make a road map to follow.
I found that the dots really fascinated me. And I found it easy to expose all three layers of colours with this pattern.
You can also use dots to make up more detailed patterns like mandalas so there are lots of possibilities with dots.
So what are my top tips for soap carving?
Even though I am quite new to this technique I would recommend the following
Tip number 1 – Get the right tools
Get some decent carving tools. The tools that I purchased were fine but the carving end of the tools did start to bend when cutting into the hard soap.
If you think that you might add this technique to your soaping skill sets, then invest in some good carving tools…maybe only 1 or a few at first.
You will probably not need many different types of carving tools for soap carving, so no need to go wild.
Tip number 2 – Let your soap harden
Let your soap harden long enough so that it cuts cleanly, but not so long that it dries out too much.
The harder and drier your soap, the more likely it is to crack and crumble. You want soap that is like clay. Not too hard and not too soft.
Tip number 3 – Cut your bars into generous sizes
Keep your soap bars a decent size. The best size that I worked with was about 10cm x 8cm. This gives you a nice “canvas” to make some decent patterns on. You can always go smaller if this is too big for you.
Tip number 4 – Pour thin layers
Pour your coloured layers as thinly as possible. If you want different coloured layers to be visible on your finished bars, then thin layers will prevent you from having to dig too far into the soap bar to reveal the different colours.
Remember having big gouges in your soap may cause weaknesses and make your soap more likely to break apart.
Tip number 5 – Keep it straight
If you want to make your patterns even and straight, use a skewer or a knife to mark some straight lines on the surface of your soap before you start carving.
They will create a guide or a template just to make sure you don’t go off course.
How would I rate this technique? ……….
I would give this technique a 7 out of 10.
Without some very fine tools this technique can be limiting.
As a soaper the temptation to make intricate patterns is really high. But soap bars tend to be small and there is only so much detail that you can fit onto the surface of a bar of soap.
Having said that I really enjoyed this technique. It was nice to carve and sculpt instead of pouring or moulding to make patterns.
The multi-coloured layers produce a cool effect and there is a lot of potential to explore with this technique.
Have a go and see what you think.
Drop us a line and leave your comments here.
We’d love to hear from you. 🙂
